Quick takeaway
A bespoke bathroom refit in Hampshire usually runs across about two working weeks for an average family bathroom. The work moves through set stages: design and planning, strip out, first fix plumbing and electrics, wall and floor preparation, tiling, second fix, then sealing and finishing. Tiling takes the longest, and drying time between stages adds to the total. A small cloakroom takes less time, and a wetroom follows a slightly different route.
Table of contents
Before day one: design and planning
Days 1 to 2: strip out and first fix
Days 3 to 4: preparation and waterproofing
Days 5 to 7: walls and tiling
Days 8 to 9: second fix
Day 10 onwards: sealing, snagging and finishing
What affects your timeline
FAQs
The biggest worry about a bespoke bathroom refit is rarely the same from one home to the next. For some of you it’s the budget, for others it’s making the right design decisions, and for plenty of you it’s living without a working bathroom for a while. Uncertainty is a scary feeling, and it comes up plenty in life. For bathroom refits, uncertainty is one thing that we can help you with.
We’ve designed and installed bathrooms across the home counties, London and beyond. We’ve seen the unexpected, and solved problems both weird and wonderful. With all that knowledge, then, we thought that a day by day guide to what happens during a bespoke bathroom refit would help to put some worries to rest.
We’ll base this on an average family bathroom in a four bed detached house. A smaller cloakroom won’t take as long, a larger room can run on a little, and a wetroom follows its own slightly different process.
Before day one: design and planning
The bespoke part of your bathroom happens before any tools arrive. Layout, materials, lighting and the finer details all get agreed first, so the fitting team can work without pausing for decisions later. It helps to think this through early, which is why we plan around your home’s space, light and layout before anything is ordered.
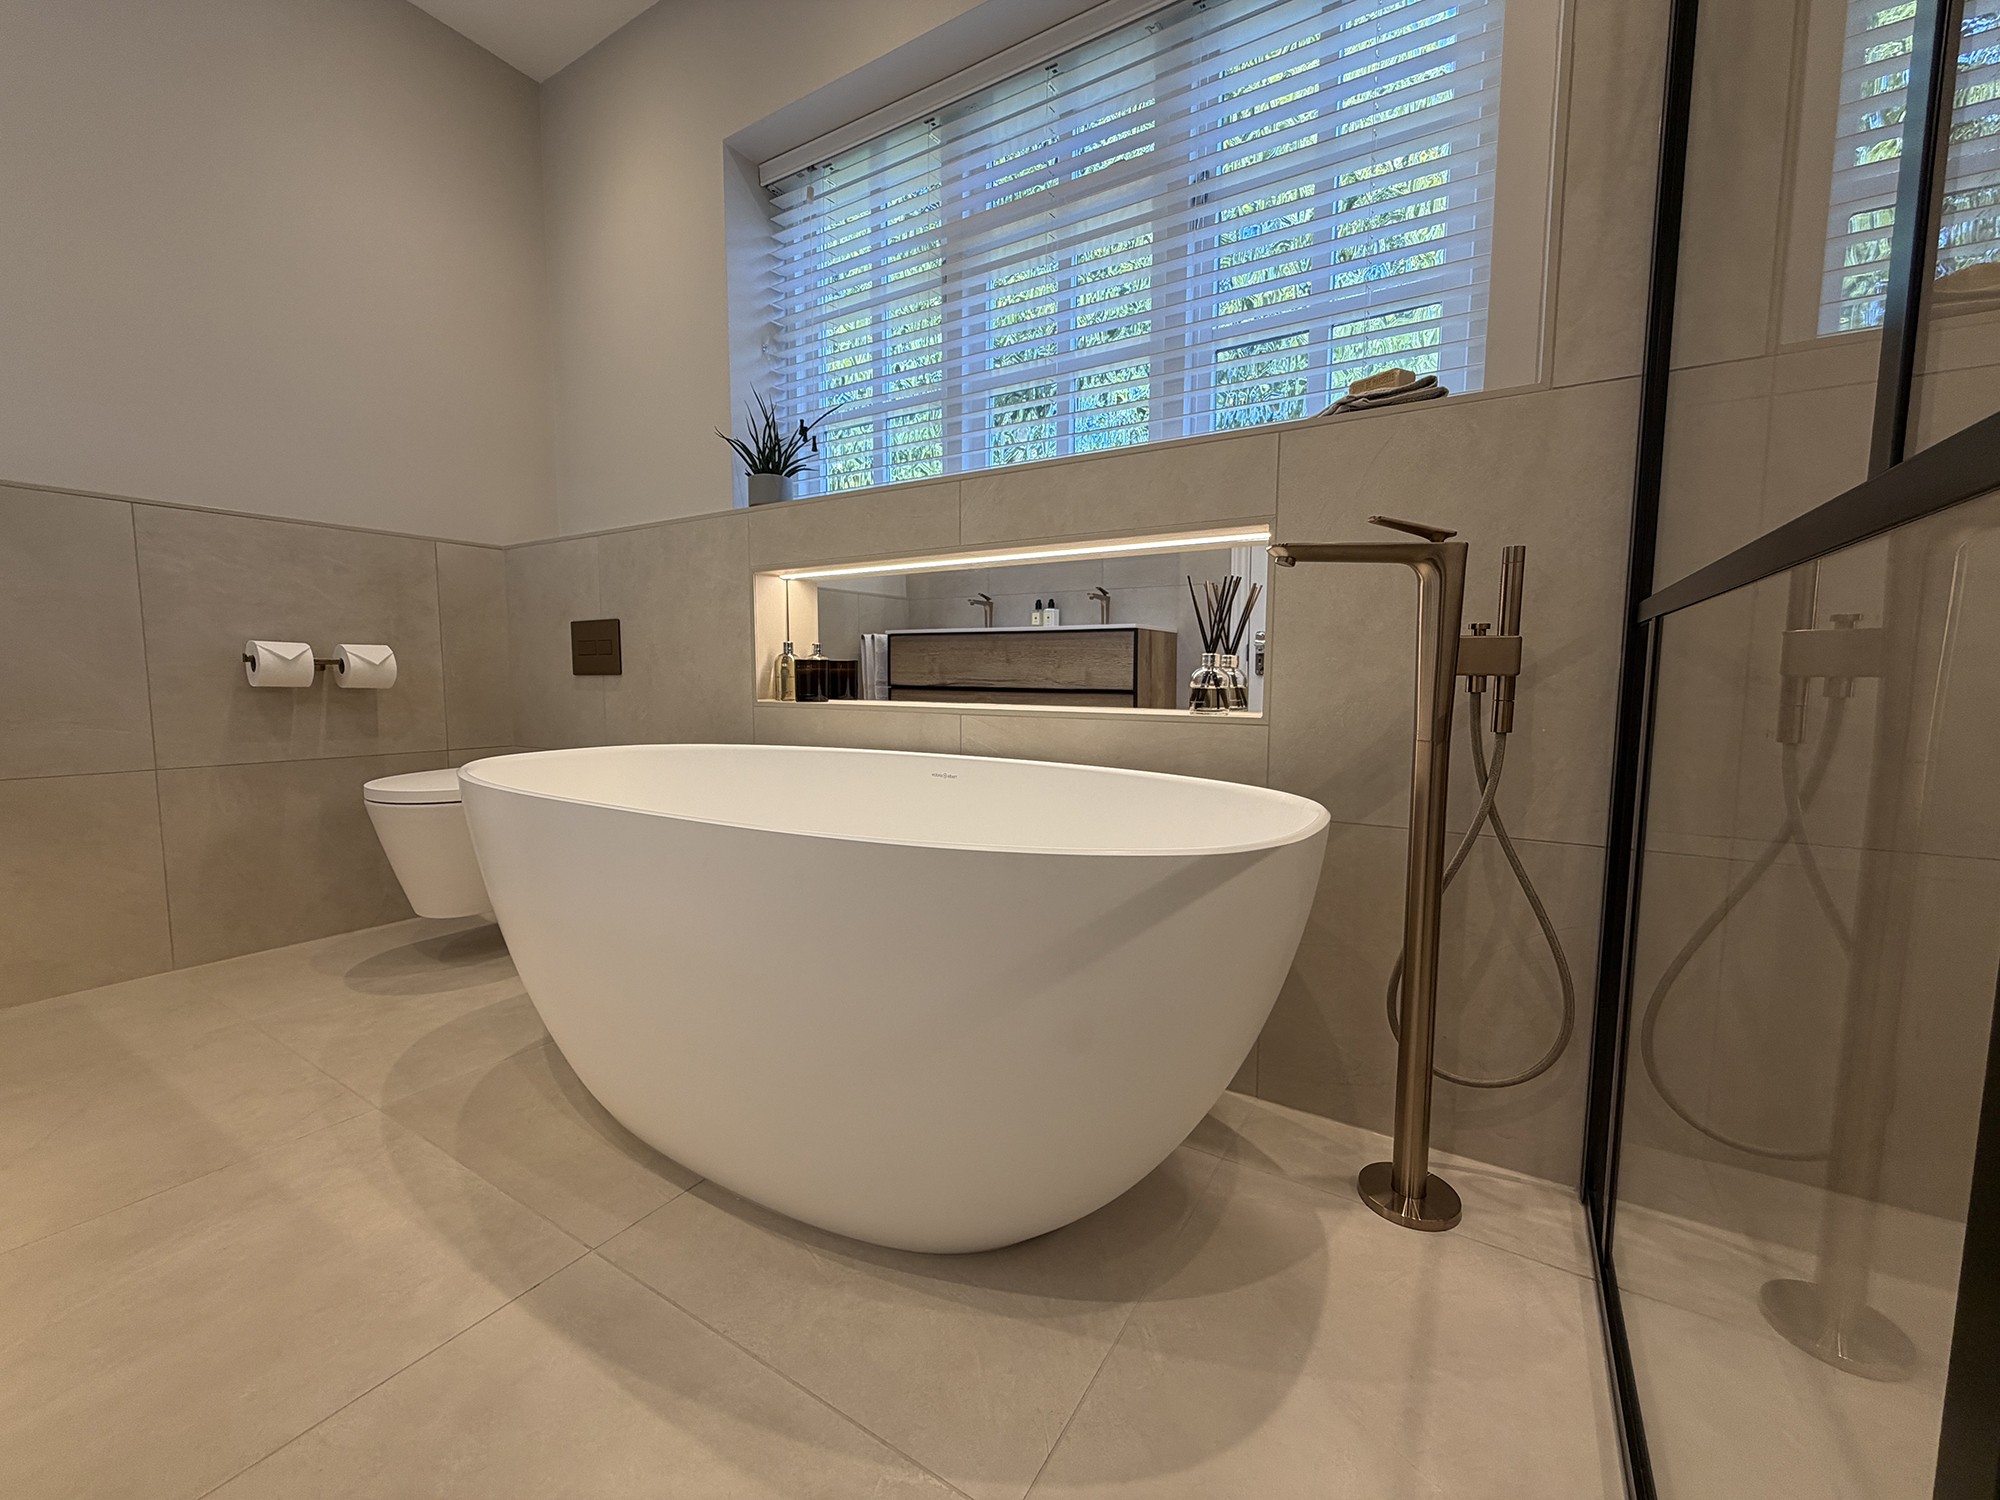
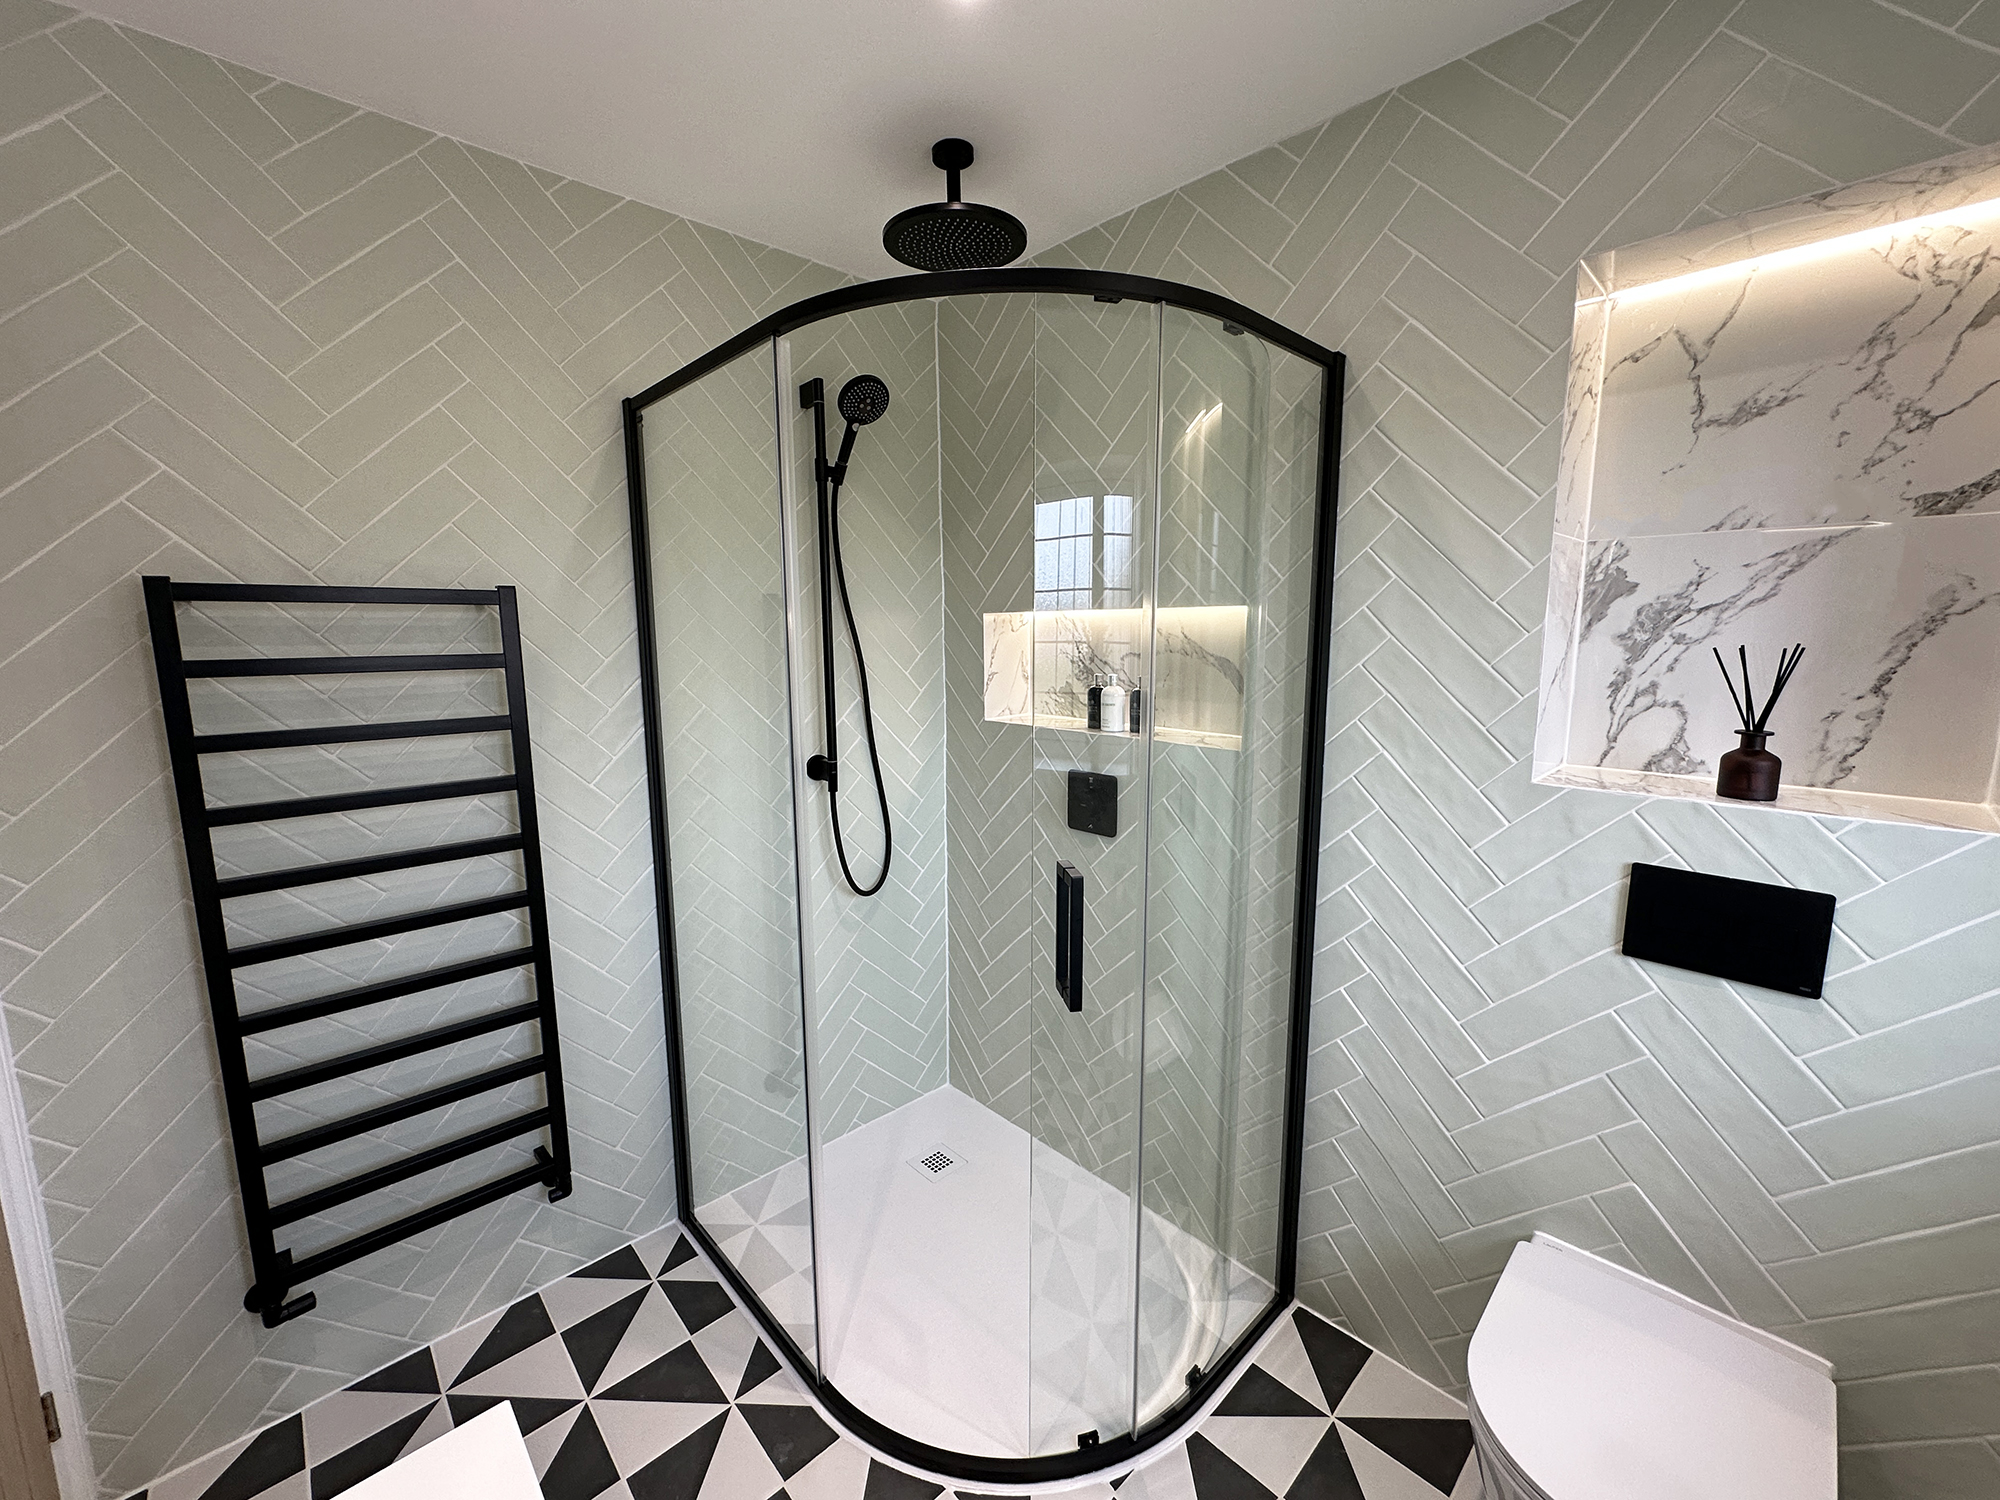
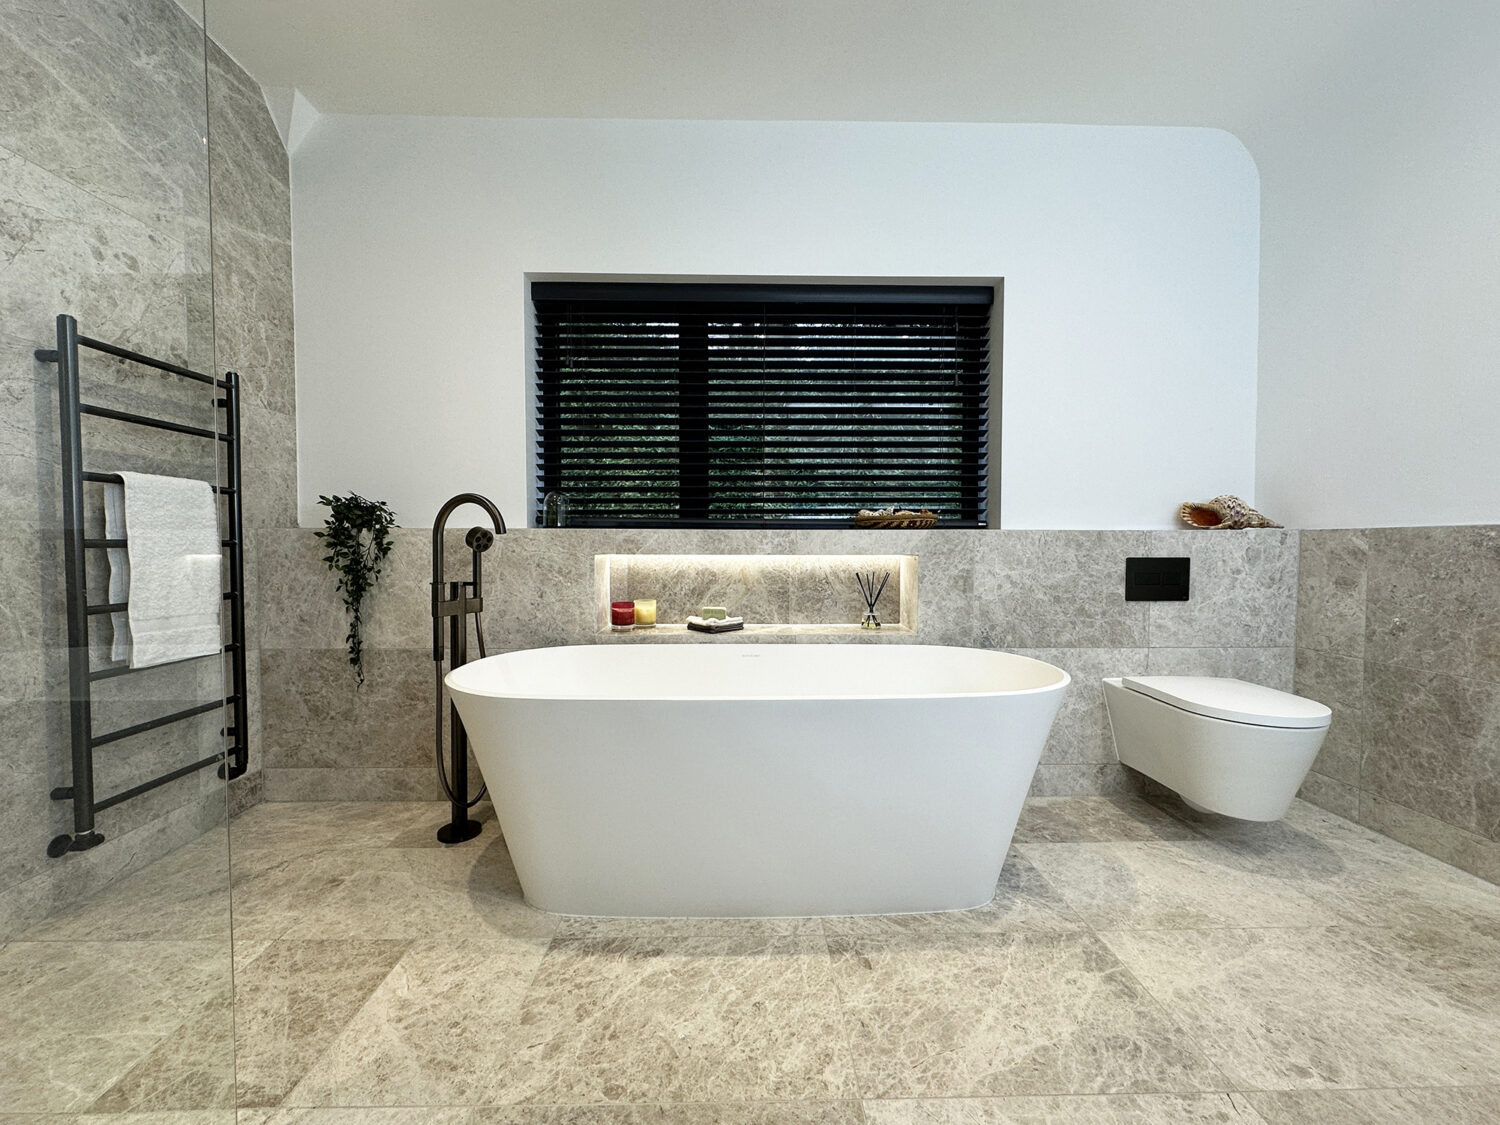
This stage is also where we design in the details that make a room feel considered. Our signature feature is LED lit recessed shelving, set into the wall rather than bolted on top of it. You can have it inside the shower for shampoo and soap, alongside the bath for a glass of wine and a candle, or on a clear wall purely for display. Because the lighting and the niche are built into the wall, the wiring has to be planned now, not added as an afterthought.
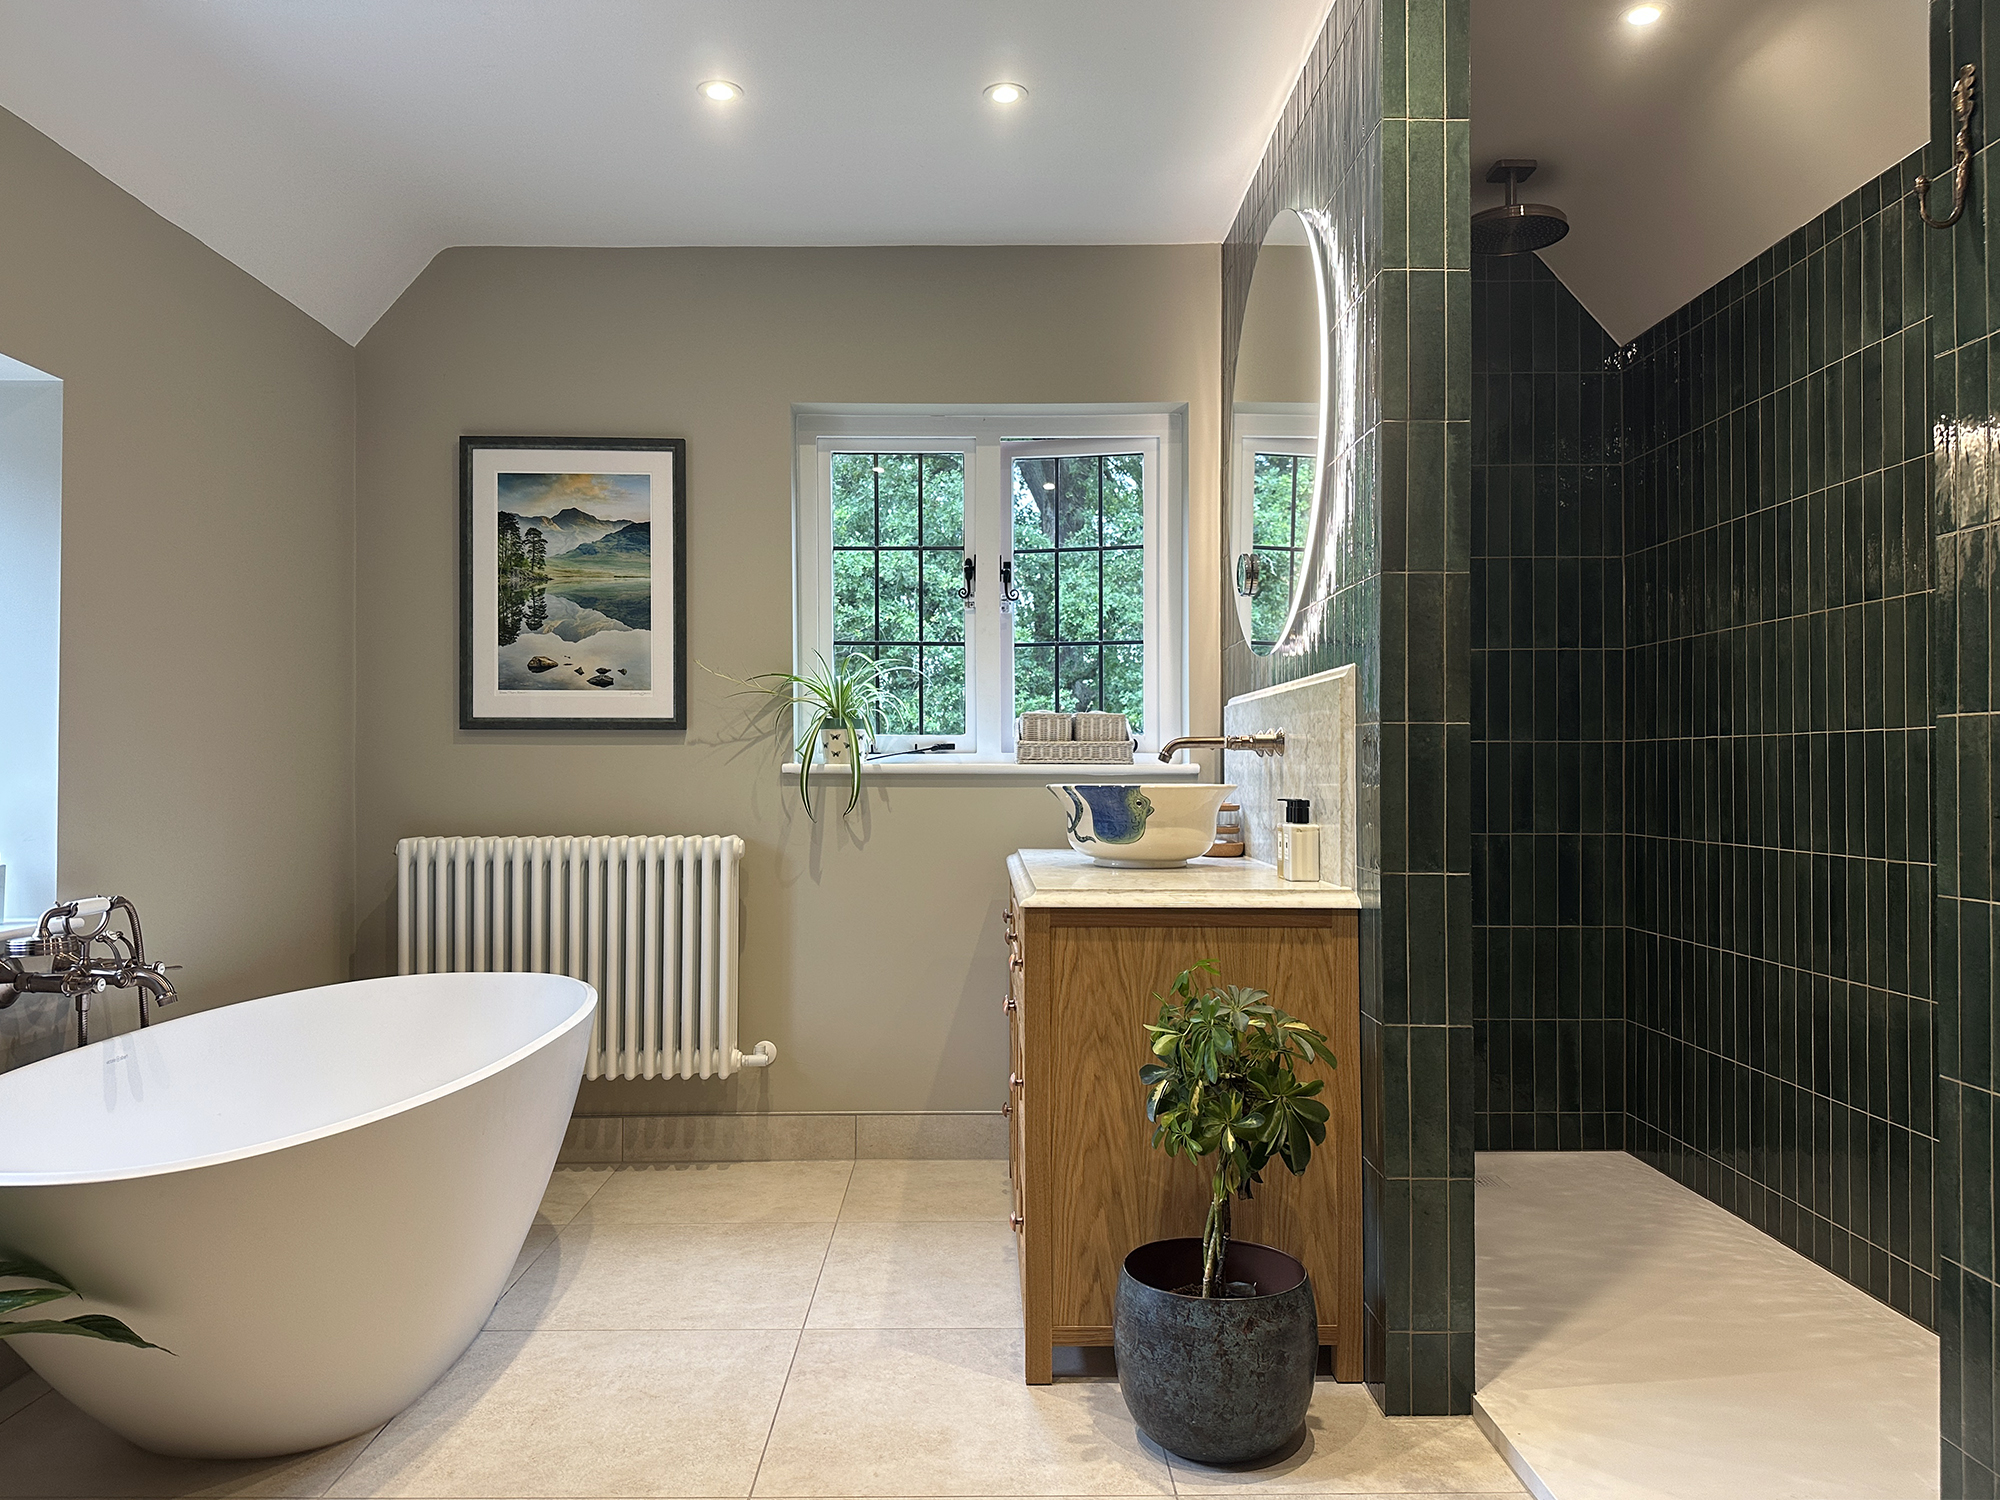
A bespoke refit also differs from an off-the-shelf one at this point. You’re choosing materials and proportions to suit your home, which is where a high-low approach can help you spend where it shows and save where it doesn’t.
By the time work begins, you’ll have agreed:
- the layout and where each fitting sits
- tile, stone and finish choices for walls and floor
- the position of any LED recessed shelving and lighting
- whether you want underfloor heating
Days 1 to 2: strip out and first fix
The old bathroom comes out first. The team removes the suite, tiles and often the old plaster, back to bare walls and floor. It looks dramatic, and it’s the messiest part of the whole job. Make sure that you’ve protected surrounding rooms from travelling dust.
First fix follows. This is the plumbing and wiring you’ll never see again once the walls are closed up: moving pipework and waste, then running cables for lighting, the shower, underfloor heating and the recessed shelving. Getting this right now saves a lot of grief later.
Days 3 to 4: preparation and waterproofing
With the services in place, the walls and floor get prepared. Wet areas are boarded and tanked, which is a waterproof layer that stops moisture reaching the structure behind your tiles. If you’ve chosen underfloor heating, the mats or pipes go down now, and the floor is levelled ready for tiling.
This stage isn’t glamorous, and you can’t see the result once it’s finished. It’s the part that protects everything you can see, though, so it shouldn’t be rushed.
Days 5 to 7: walls and tiling
Painting should ideally take place before tiles go on – it’s the best way to keep things neat. Tiling is the slowest stage, and inexpertise shows. Walls and floor are tiled, left to set, then grouted. Large format tiles, patterns and natural stone all take longer to lay neatly, so the timing depends on what you’ve chosen.
This is the point where the room starts to look like the design you signed off, and where the recessed shelving begins to read as a feature rather than a hole in the wall.
Days 8 to 9: second fix
Second fix is where the room comes together. The bath, basin, toilet, shower and taps go in, the LED shelving lighting is connected, and any smart controls are wired up. Everything that was planned at first fix now gets fitted and tested.
Day 10 onwards: sealing, snagging and finishing
The last stage is detail work. Silicone sealant goes around the bath, basin and shower, the glass screen is fitted, final electrics are tested, and accessories go on. We then run a snagging check, which is a careful look for anything that needs adjusting before we hand the room back to you.
After that, you have a finished bathroom, and the only uncertainty left is who gets first use of the new shower.
Stage | Typical days | What happens |
|---|---|---|
| Design and planning | Before fitting | Layout, materials, lighting and bespoke details agreed |
| Strip out and first fix | Days 1 to 2 | Old suite removed, pipework and wiring set |
| Preparation and waterproofing | Days 3 to 4 | Boarding, tanking, underfloor heating, floor levelling |
| Painting and tiling | Days 5 to 7 | Walls and floor tiled, then grouted |
| Second fix | Days 8 to 9 | Suite, taps, shower and LED shelving fitted |
| Sealing and finishing | Day 10 onwards | Silicone, screen, final electrics, snagging |
What affects your timeline
A few things move the dates around. The main ones are:
- the size of the room, since a cloakroom is quicker and a large family bathroom or wetroom takes longer
- your tile choice, as natural stone and intricate patterns take more time to lay
- structural surprises, like old pipework or uneven walls hidden behind the previous suite
- drying and curing time, which can’t be rushed without risking the finish
Cost sits alongside time as the other big question, and the two are linked, since a longer or more involved job costs more to fit. If you’re working out a budget, our guide to a realistic cost for a bathroom refit is a sensible starting point.
A bespoke bathroom is far easier to live through when you know what each day brings. If you’re planning a refit in Hampshire, Surrey, Berkshire or London, talk to our team and we’ll help you map out a design, a timeline and a finish that suits your home.
FAQs
How long does a bespoke bathroom refit take in Hampshire?
Most average family bathrooms take around two working weeks from strip out to handover. A cloakroom can be quicker, while a larger room, a wetroom or a detailed design can run a little longer. Drying and curing time between stages is part of that total and can’t be sped up.
Can we still live in the house during the work?
Yes, in almost all cases. The room itself is out of action for the duration, so you’ll need another bathroom or a temporary arrangement. The messiest days are the strip out at the start, and the team keeps the rest of your home protected and tidy throughout.
Does a wetroom take longer than a standard bathroom?
Usually, yes. A wetroom needs more careful waterproofing and floor preparation to manage drainage across the whole room rather than inside a tray. If you’re weighing one up, our guide to wetroom design walks through what’s involved.